How Do You Turn a Short Script Into a Complete 12-Page Comic With AI?
2026-08-14
Turning a finished script into a readable, 12-page comic is a different problem from generating a single beautiful anime-style image. It requires character continuity across dozens of panels, deliberate page architecture, panel-level camera direction, and enough breathing room in each composition for dialogue. This guide evaluates how the leading AI manga and comic tools handle that full pipeline — and where each one breaks down.

What Separates a Script-to-Comic Workflow From a Panel Image Generator?
A script-to-comic workflow manages continuity, page architecture, and sequential pacing across an entire project; a panel image generator produces one image at a time with no memory of what came before. For a 12-page comic, the difference determines whether your protagonist looks like the same person on page 11 as on page 1. Tools built around continuity — Jenova's Manga Creator, LlamaGen, and Anifusion — approach the problem structurally. General image generators like Midjourney do not.
Four factors separate a workflow that produces a finished 12-page comic from one that produces 40 disconnected images:
✅ A locked character bible — a written specification of your protagonist's face, hair, build, wardrobe, and identifying marks, repeated verbatim in every panel prompt. Even tools advertising character consistency still require a human-managed character bible for long-form work.
✅ Page-level thumbnailing before generation — deciding panel counts, sizes, and reading flow per page, because panel composition and pacing must be tested before final art.
✅ Explicit camera direction per panel — close-up, mid shot, overhead, low-angle. Without it, AI defaults to repetitive medium framing that kills sequential rhythm.
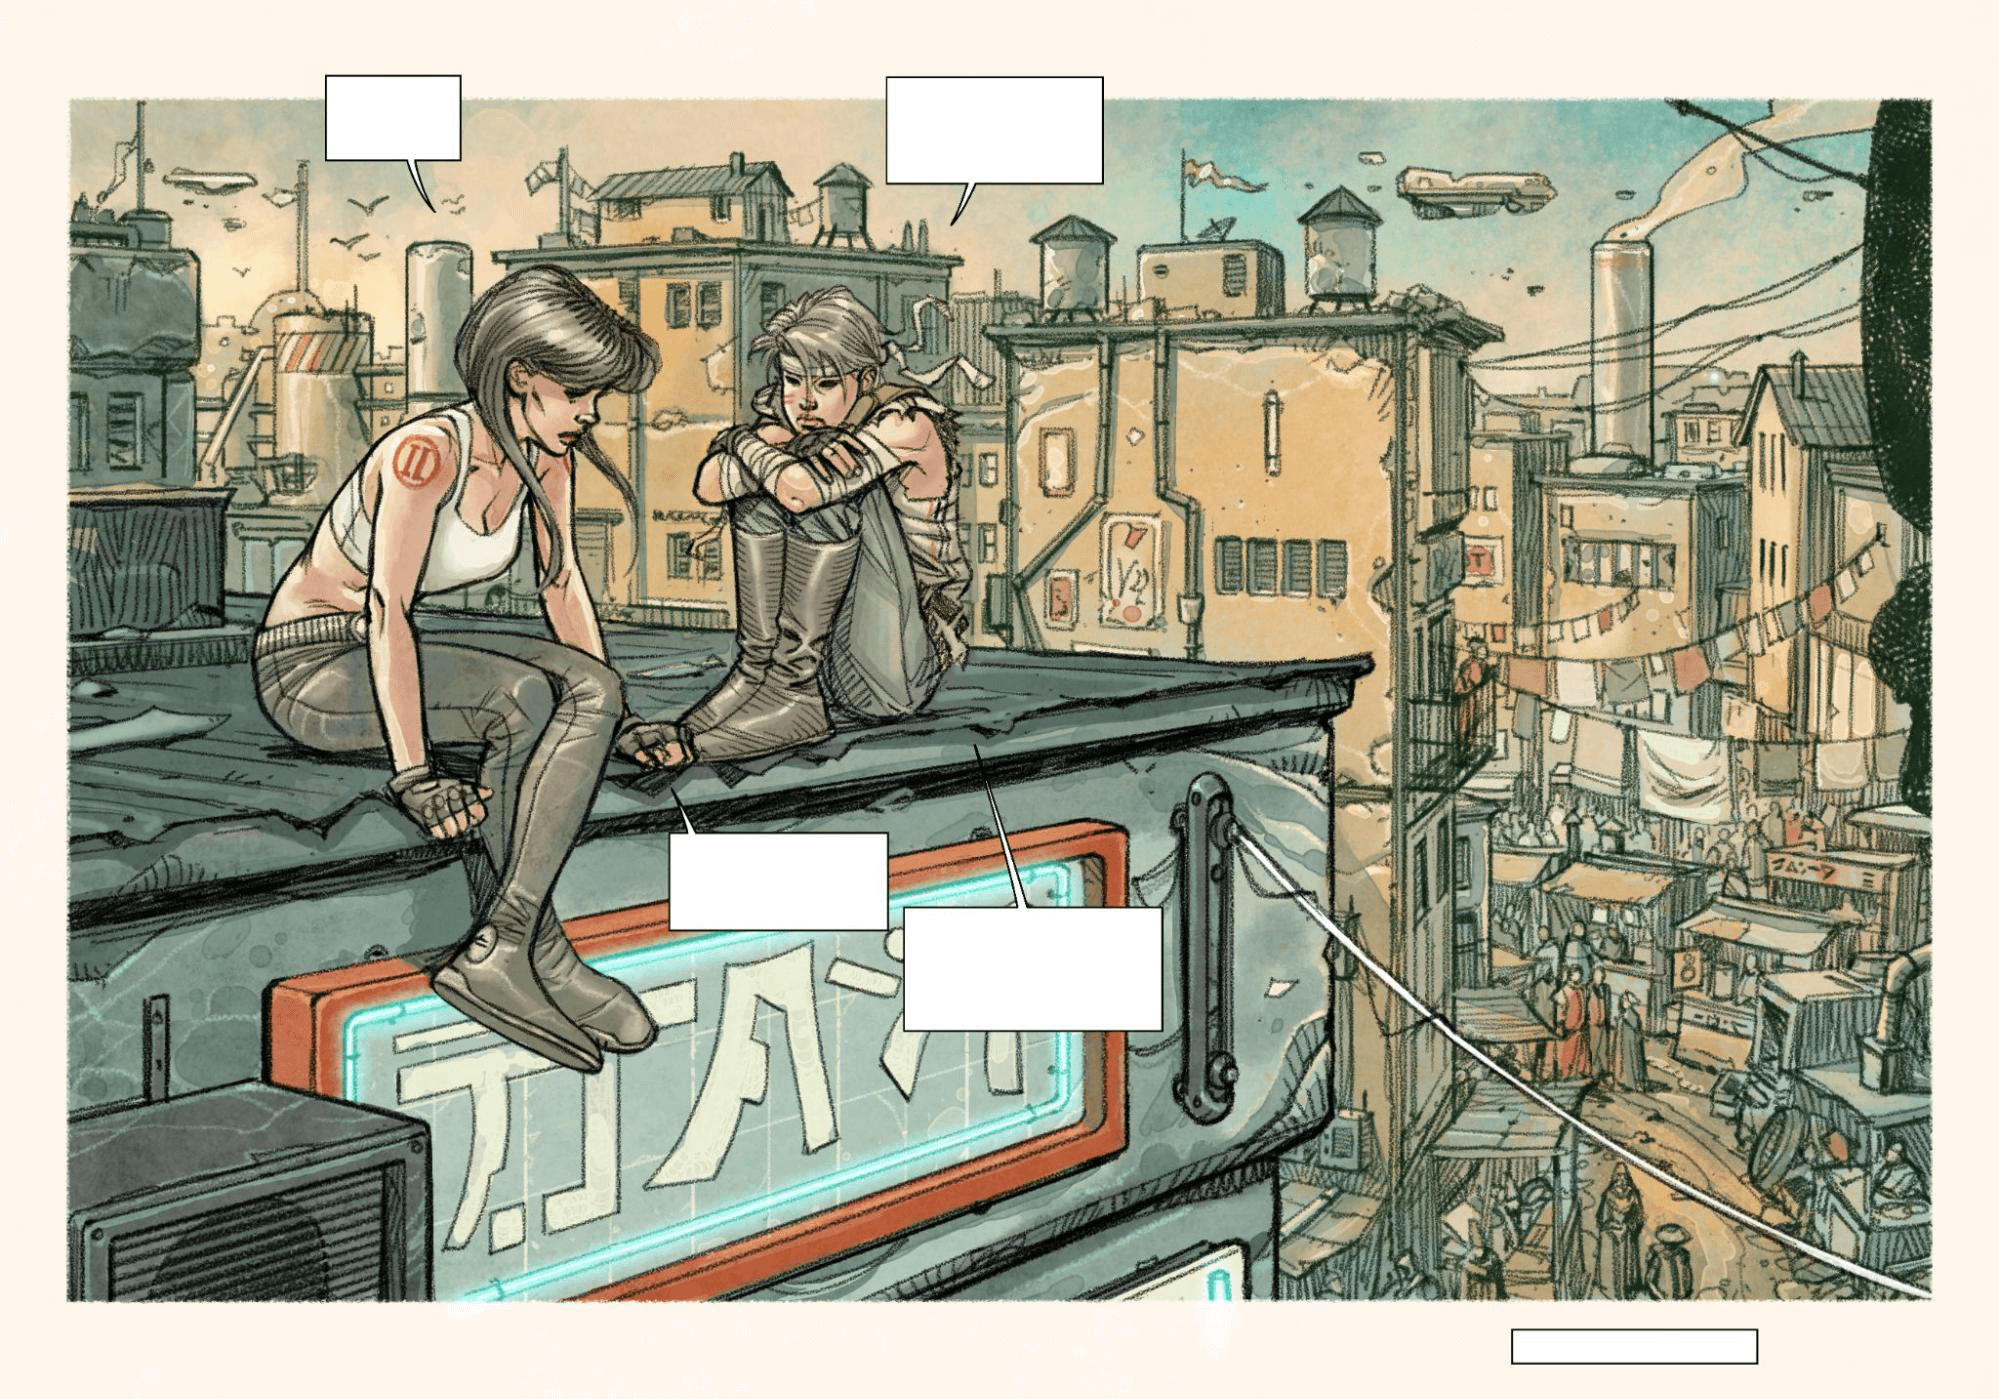
✅ Reserved bubble space in every composition — manga pages need room for dialogue, captions, SFX, and translated text, and that space must be planned into the image, not cropped in afterward.
The rest of this guide breaks these into an executable sequence and compares how each major tool handles them.
Why Is Character Consistency the Hardest Part of AI Comic Creation?
Character consistency is the hardest part because diffusion models generate each image independently, with no inherent memory of prior outputs — meaning a face drifts every time the prompt is re-run. This is the single most-reported failure mode among AI comic creators. On
"the inability to have the same or even similar characters throughout" as their core blocker.The problem compounds with page count. A four-panel strip tolerates minor drift. A 12-page comic running 50–70 panels does not — readers register facial inconsistency immediately, and it reads as amateurism regardless of individual panel quality.
Three technical approaches have emerged to solve it:
- Reference-image conditioning — feeding a locked character sheet into every generation. Ideogram builds character consistency from a single reference photo across poses and outfits.
- LoRA fine-tuning — training a lightweight model adapter on your specific character. Anifusion uses LoRA training to hold characters stable across hundreds of pages.
- Persistent context and character references — the agent retains the character specification across a long session and reapplies it, which is the approach Jenova's Manga Creator takes.
None of these fully removes the need for a written character bible. Even with the best conditioning available, a vague prompt like "same girl" produces drift; a fixed character sheet with core visual details repeated in every important prompt remains the baseline discipline.
What Should You Look For in an AI Comic or Manga Generator?
You should evaluate tools on six workflow dimensions, not on the visual quality of a single sample image. A tool that produces gorgeous standalone panels but cannot hold a face across a scene will cost you more time than it saves on a 12-page project.
The evaluation framework used throughout this guide:
| Dimension | What to test for |
|---|---|
| Character continuity | Can the same protagonist survive 50+ panels across different angles, expressions, and lighting? |
| Panel & page workflow | Does the tool understand pages, or only individual images? |
| Camera and composition control | Can you specify low-angle, close-up, overhead, or is framing left to chance? |
| Bubble space handling | Does the tool leave clean negative space for lettering, or fill the frame edge to edge? |
| Lettering and assembly | Are speech bubbles, SFX, and captions handled natively or exported to another app? |
| Export and rights clarity | Resolution, watermarks, and documented commercial-use terms |
A practical seventh consideration: cost per iteration. Comic production is iterative. You will regenerate panels repeatedly. Credit-metered systems with opaque consumption rates make budgeting for a 12-page project difficult — a limitation flagged specifically in reviews of KomikoAI's "zaps" system, where the complex credit structure makes cost prediction difficult.
How Do the Main AI Comic Tools Compare on Script-to-Page Workflows?
No single tool currently handles the entire script-to-finished-page pipeline without compromise — the practical choice depends on whether your bottleneck is continuity, page assembly, print output, or raw image quality. Below is a factual comparison across the dimensions that matter for a 12-page project.
| Dimension | Jenova Manga Creator | LlamaGen | Anifusion | Dashtoon | Midjourney |
|---|---|---|---|---|---|
| Character continuity approach | Character references + persistent session context | Reusable characters + character sheets across panels | LoRA training for stability across long page counts | Character reference system with pre-trained styles | No native consistency mechanism |
| Page/panel workflow | Panel-by-panel planning and story-first sequencing | Panel sequences, page drafts, webtoon formats | Canvas editor with panel layouts | Vertical-scroll webcomic layouts | None — external assembly required |
| Lettering / speech bubbles | Bubble space planned into panel composition; assembly in an external editor | Bubbles and captions supported; often paired with a layout editor | Integrated text tools | Built-in for webcomic format | None |
| Long-form suitability | Built for one-shots through 200+ page serialized work | Long-form supported; manual review required | Strong for 100+ page projects on paid tiers | Strong for episodic webcomics | Unsuitable |
| Export / distribution | Standard image and document exports | Multi-format including webtoon | Print-optimized, KDP-ready sizing | Platform-locked to Dashtoon's reader | Image files only |
| Pricing | Free tier; Plus $20/mo, Premium $50/mo, higher tiers to $1,000/mo Enterprise | Paid tiers (see current pricing) | Free tier; $9.99–$49.99/mo | Freemium; premium varies | $10–$60/mo, no free tier |
| Best for | Story-first creators who have a script and need continuity plus panel direction | All-in-one manga/manhwa/webtoon production across formats | Print and Amazon KDP self-publishing | Webcomic creators wanting built-in distribution | Covers, splash art, promotional images |
Honest limitations, per tool:
Jenova's Manga Creator operates conversationally rather than through a visual canvas — you direct panels through dialogue and prompts, not by dragging frames on a grid. Final page assembly and professional lettering happen in an external editor. As one comparison guide notes, agent-style tools speed up planning, but creators still need to edit the final manga for dialogue, pacing, and continuity before publishing. Its offsetting strength is depth of story control: unlimited chat history and persistent memory mean the character bible, tone, and prior page decisions stay in context across a full 12-page session, and access to multiple model providers means you are not locked to one image model's aesthetic.
LlamaGen covers the broadest format range but, by its own documentation, long-form manga still needs a human-managed character bible — the tooling assists continuity rather than guaranteeing it.
Anifusion is the strongest print-oriented option, exporting in KDP-standard sizes like 6×9" and 8.5×11", but a full-length project requires a paid plan for sufficient generation credits and custom LoRA training.
Dashtoon offers real distribution — a reader app and revenue sharing — at the cost of platform lock-in: content created on Dashtoon stays on Dashtoon, with limited export flexibility for outside publishing.
Midjourney produces the highest single-image quality of the group, but has no character consistency, no panel layouts, and no text tools, and requires manual editing of every panel in external software. For covers it excels; for interior pages it is impractical.
How Do You Break a Short Script Into a 12-Page Panel Plan?
You break a script into 12 pages by assigning story beats to pages first, then panels to beats — never by generating images and hoping they add up to a comic. A 12-page comic typically holds 48–72 panels, averaging four to six per page, with deliberate variation for pacing.
The page-mapping method:
- Count your beats. Read the script and mark every distinct story turn — an entrance, a revelation, a decision, a reversal. A tight 12-page short usually carries 10–16 beats.
- Assign a page anchor to each act break. Page 1 opens, page 6 or 7 holds the midpoint turn, page 11 delivers the climax, page 12 lands the resolution or hook.
- Set panel density by tempo. Dense pages (6–8 small panels) compress time and raise tension. Sparse pages (1–3 large panels) slow time and grant weight. A splash panel on page 11 hits harder if pages 8–10 were dense.
- Place the page-turn hook. Every right-hand page bottom panel should create a question the turn answers.
- Thumbnail before generating. This is the step most AI creators skip, and it is where pacing is actually built. Testing panel composition, reader tracking, and pacing before final art is the entire function of a storyboard.
You can run steps 1–4 conversationally. In Jenova's Manga Creator, the planning pass looks like this:
"Here is my 900-word script. Break it into a 12-page comic. Give me a page-by-page beat map with panel counts per page, mark the midpoint turn and the climax page, and flag which panel on each page should carry the page-turn hook. Don't generate any art yet."
Then lock the plan before a single panel is generated. In Anifusion, the equivalent step happens in the canvas editor, where you place empty panel frames per page before filling them. In LlamaGen, you assemble panel sequences into page drafts after generating scene-level panels.
How Do You Build a Protagonist Design That Survives 50+ Panels?
You build a durable protagonist design by writing a character bible before generating any panel art, then treating it as a fixed block of text pasted into every panel prompt for the rest of the project. Character consistency is a documentation discipline first and a model capability second.
Your character bible needs six locked attributes:
- Face and hair — length, color, style, parting, distinguishing features
- Build and height — relative to other cast members
- Wardrobe — the default outfit, described down to specific items
- Identifying marks — scars, glasses, jewelry, tattoos, prosthetics
- Art style descriptors — line weight, screentone use, shading approach
- Baseline expression — the character's neutral face
A working example of the specificity required — note how production-grade prompts lock every attribute explicitly: "Keep Kai's short black hair, gray eyes, left-eye scar, old uniform and copper glove consistent."
Then generate a reference sheet before any story panel. Front, side, and back views plus an expression set is the standard production reference, and it becomes your visual anchor for the entire project. In Jenova's Manga Creator:
"Create a character reference sheet for my protagonist: 17-year-old girl, chin-length black hair with blunt bangs, sharp gray eyes, thin vertical scar through right eyebrow, oversized gray school blazer over white shirt, red frayed wristband on left wrist. Style: black-and-white seinen manga, heavy ink shadows, fine line work. Generate front view, three-quarter view, and an expression set — neutral, determined, afraid, exhausted."
For a reference-conditioned approach instead, Ideogram's character feature builds consistency from a single reference image across poses and outfits, and can serve as an upstream design step feeding into a page-assembly tool.
The verification rule: after generating each page, place its panels side by side with your reference sheet. Drift is cumulative and nearly invisible page to page — but obvious when page 1 sits next to page 12.
How Do You Write a Panel Prompt That Produces a Usable Comic Panel?
A usable panel prompt specifies six components — character, action, setting, camera, style, and bubble space — because omitting any one hands that decision to the model, and the model does not know your page layout. Vague prompts are the primary cause of unusable output.
The six-component structure:
- Character continuity block — your locked bible text, pasted verbatim
- Action — precisely what the character is doing in this frozen moment
- Setting — location, time of day, weather, background density
- Camera — low-angle, overhead, close-up, mid shot, over-the-shoulder
- Style and effects — screentones, speed lines, ink weight, impact bursts
- Composition note — where to reserve clean space for dialogue
Camera variation is what makes a page read as sequential art rather than a slideshow. Professional comic layout practice mixes wide shots, medium shots, close-ups, and object details within a single page, and plans speech balloon placement at the thumbnail stage rather than after the art is finished.
A complete panel prompt in practice:
"Panel 4, page 7. [CHARACTER BIBLE BLOCK]. Action: she pulls the wristband off and lets it drop, eyes fixed forward, not looking down. Setting: empty school rooftop at dusk, chain-link fence behind her, city skyline soft-focus. Camera: low-angle three-quarter shot, fence lines converging upward. Style: black-and-white manga, heavy black shadow on her left side, fine screentone on the sky. Composition: leave the upper-left third clean for a caption box. No speech bubble in this panel."
The same discipline applies across tools — Midjourney will render this prompt beautifully as a single image but will not carry the character bible to panel 5, which is precisely the gap continuity-focused tools are built to close.
How Do You Handle Lettering and Page Assembly After Generation?
You handle lettering by reserving space during generation and adding text in a dedicated layout tool afterward — no current AI generator produces publication-quality lettering natively. Attempting to have the model render dialogue text inside the image reliably produces garbled or misspelled output.
The assembly sequence:
- Export panels at high resolution — you will crop and scale during layout, so generate larger than final print size.
- Import into a layout tool. Clip Studio Paint is the professional standard for panels, balloons, screentones, and effect lines. Canva handles simpler grid-and-frame assembly with drag-and-drop bubbles for lighter projects.
- Place bubbles into your reserved space. Keep dialogue short, fonts consistent, and speaker tails pointing unambiguously.
- Add SFX and captions as separate layers so you can revise without regenerating art.
- Run a continuity pass. Check character consistency, hands and faces, panel-to-panel flow, confusing camera angles, repeated backgrounds, and export quality.
That final review pass is not optional. Across every tool evaluated, the consistent finding is that AI can accelerate production, but human editing decides whether the manga is readable.
If your comic is script-driven and you are still developing the story alongside the art, pairing the Comic Creator for sequential-art layout work with the Creative Fiction Writer for script tightening keeps the narrative and visual passes in the same working context. For vertical-scroll formats, the Webtoon Creator handles the different pacing rhythm mobile episodes require.
What Do Comic Production Experts Say About AI-Assisted Workflows?
Practitioners consistently describe AI comic tools as accelerating production while shifting — not eliminating — the labor. The bottleneck moves from drawing to directing.
"The mistake almost every new AI comic creator makes is generating before planning. They produce forty gorgeous panels and then discover they don't form a story, because panel count, page rhythm, and turn placement were never decided. We tell creators to spend the first hour of a 12-page project writing a character bible and a page-by-page beat map, with zero image generation. Projects that start that way finish. Projects that start with generation usually stall around page four."
"The second thing we see is people treating character consistency as a feature they can buy rather than a process they have to run. Reference conditioning, LoRA training, persistent context — all of it helps enormously, and none of it substitutes for pasting the same locked character description into every single panel prompt. Drift is cumulative and it's nearly invisible when you're looking at consecutive panels. Put page one next to page twelve and it's obvious. We recommend a side-by-side verification pass against the reference sheet after every completed page, not at the end."
"Where AI genuinely changes the economics is iteration cost. A traditional artist redrawing a panel because the camera angle was wrong loses hours. Regenerating with a corrected camera instruction costs minutes. That means creators can afford to be far more demanding about composition than they could before — and the ones producing the best work are the ones who exploit that, not the ones who accept the first output."
— Jenova Product Team, working across the platform's creative agent suite including Manga Creator, Comic Creator, and Webtoon Creator
What Are the Copyright Implications of AI-Assisted Comics?
Under current U.S. guidance, purely AI-generated images are not copyrightable, but the human-authored arrangement around them can be. This distinction directly shapes how you should structure an AI-assisted comic project.
The U.S. Copyright Office maintains a long-standing human authorship requirement, holding that copyrightable works must "owe their origin to a human agent," and that outputs from generative AI systems resulting from human prompt engineering do not satisfy this requirement.
The precedent case is instructive. The Copyright Office rescinded protection for the comic Zarya of the Dawn after learning Midjourney generated its images, then reissued a registration that excludes the AI-generated images and protects only "the selection, coordination, and arrangement of the Work's written and visual elements."
Practical implications for your 12-page comic:
- Your script, dialogue, panel sequencing, and page layout are human-authored and protectable.
- Individual AI-generated panel images likely are not.
- Documenting your human contribution — the beat map, thumbnails, layout decisions, editorial revisions — strengthens any registration.
- Check each tool's commercial terms, watermark policy, and export rights before selling. Watermarks vary by tier; on Jenova, generated outputs carry a "Created by Jenova" mark on the free tier and are unmarked for subscribers.
Platform policy is also shifting independently of law. Some conventions have moved to restrict AI-generated art in exhibitor spaces, which matters if physical con sales are part of your distribution plan. Verify current policy with any venue before committing to a hybrid workflow.
Which Workflow Should You Choose for Your First 12-Page Comic?
For a first 12-page comic, choose based on where your project is most likely to stall — for most script-holders, that point is character continuity across pages, not image quality.
Contextual recommendations:
- You have a finished script and no art background → Start with a continuity-focused, story-first workflow. Jenova's Manga Creator is available at jenova.ai/a/manga-creator; the free tier covers a first project at limited volume, with Plus at $20/month providing 30× the free usage allowance and monthly resets with no daily caps. Plan on assembling final pages and lettering in Clip Studio Paint or Canva.
- Your endpoint is a printed book or Amazon KDP → Anifusion's print-optimized export in KDP-standard trim sizes removes a conversion step, starting at $9.99/month.
- Your endpoint is a vertical-scroll webcomic with built-in readers → Dashtoon, accepting platform lock-in as the trade.
- You want maximum format flexibility across manga, manhwa, and webtoon → LlamaGen's multi-format pipeline.
- You only need a cover → Midjourney, at $10/month entry, remains the quality leader for single dramatic images.
A contrarian note on tool-hopping. The most common failure among new AI comic creators is not picking the wrong tool — it is switching tools mid-project. Every switch resets your character conditioning and introduces a visible style break. Pick one primary generator, complete all 12 pages inside it, and confine your second tool to layout and lettering. A comic with slightly weaker art and perfect continuity reads as professional. A comic with stunning art and a shifting protagonist does not.
References
- Anifusion — Best AI Manga Generators 2026, Compared
- LlamaGen — Best AI Manga Generators in 2026
- StudioBinder — Free Comic Storyboard Template PDF and Examples
- Ideogram — Character Consistency from One Photo
- LlamaGen — AI Character Creator: Consistent Characters for Comics, Games and Stories
- Brookings Institution — AI and the Visual Arts: The Case for Copyright Protection
- Instagram, ryanbnjmn — How to set up a comic panel: shot variety and balloon planning
- Clip Studio Paint — Comics, Manga and Webtoon Tools
- Canva — Comic Strip Maker
- Midjourney